Got PS 2020 or newer? Go to the new tutorial!
Using an older version of Photoshop? These instructions are for you:
Ready to get started? Installing your text effects is easy! This tutorial will show you how.
Tip: Before you start, unzip the text effects zip file (the one included in your welcome email) to a convenient location, then follow the steps below. If you haven't bought your text effects yet, you can get them here.
Step 1:
Open the Photoshop Preset Manager from the "Edit" menu.

Tip: These screenshots are from a Mac, but the instructions will also work with Windows.
Step 2:
Select "Styles" from the dropdown box, and click "Load".

Tip: In Photoshop, text effects are called "Layer Styles".
Step 3:
Open the collection you want to use from the "effects" folder, then close the Preset Manager by clicking "Done".
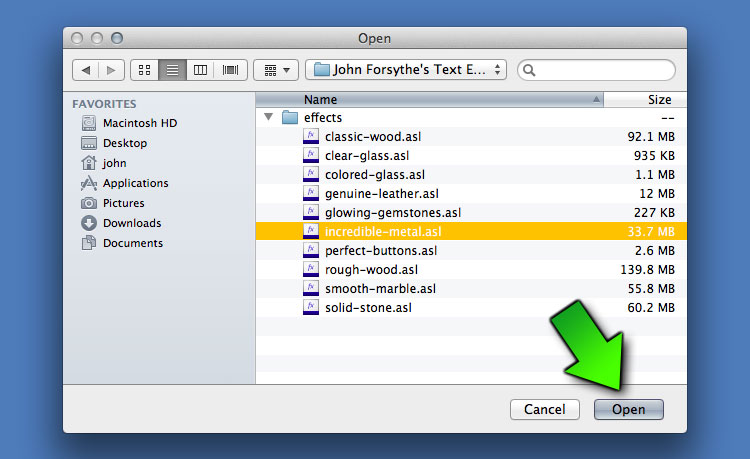
Tip: Your text effects are stored inside files that end with ".asl"
How to use your Text Effects:
Now that you've got your effects installed, here's a quick introduction to using them.
Note: You'll need the "Layers" palette open to follow along. If it's hidden, you can make it appear by choosing "Layers" from the "Window" menu.
Step 1:
Start by using the "Text" tool to create a new text layer.
Select the layer, then right click it, and choose "Blending Options".
Tip: You can apply this technique to any layer, not just text! Try it on shapes, or apply the effect to a blank layer, then draw on it with the brush tool.

Step 2:
Select "Styles" from the menu on the left, and pick the effect you want to apply to your text.
Tip: Feel free to change the colors, adjust the drop shadow, etc. (just click the menu on the left side to see the settings). Remember, everything is adjustable!
Step 3:
When you're happy with the look, click OK, and your text should now look something like this:
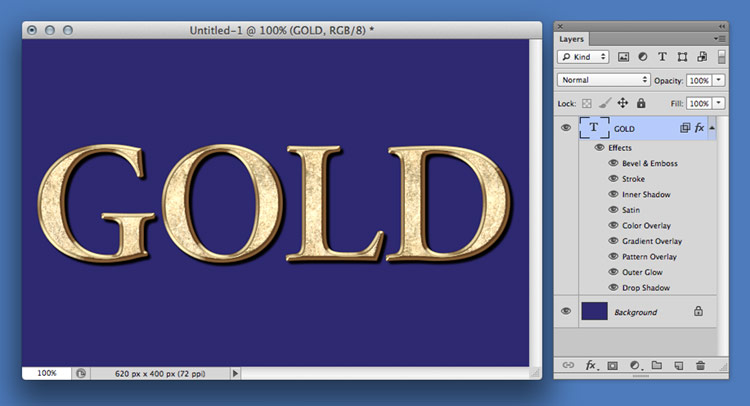
Tip: You can go back into "blending options" at any time to change or adjust the effects.
...And you're done! That's really all it takes! Be sure to experiment with the settings in step two, there's a lot of fun options in there for customizing your effects.
- John Forsythe
Ottawa, Canada
PS: Have questions? Just send me an email: john@blamcast.net
PPS: If you ended up on this page accidentally, and you're wondering where to get these effects, just click here!
Copyright © 2021 John ForsythePhotoshop, Adobe and related marks are registered trademarks of Adobe Systems Inc.